
Melee is the current event software du jour. Most large competitive card tournaments at the moment seem to be favoring the platform, so it’s important to know how, as a floor judge, to get it set up. Navigating through all the menus and options to get to the point it’s actually ready to go can be quite a trick, for a newcomer – this guide will hopefully help shed some light on the process.
Some of the text will change from event to event or judge to judge, but the path through the maze will remain the same. That is, some judges might be added to a single event on a weekend while others are added to multiple events, which would cause their screen in some of the steps to look a little different. So don’t panic if your screen doesn’t look identical to the picture here – the important parts will stay the same.
After you have made an account and logged in, click the hamburger menu in the top left corner and you’ll see this:
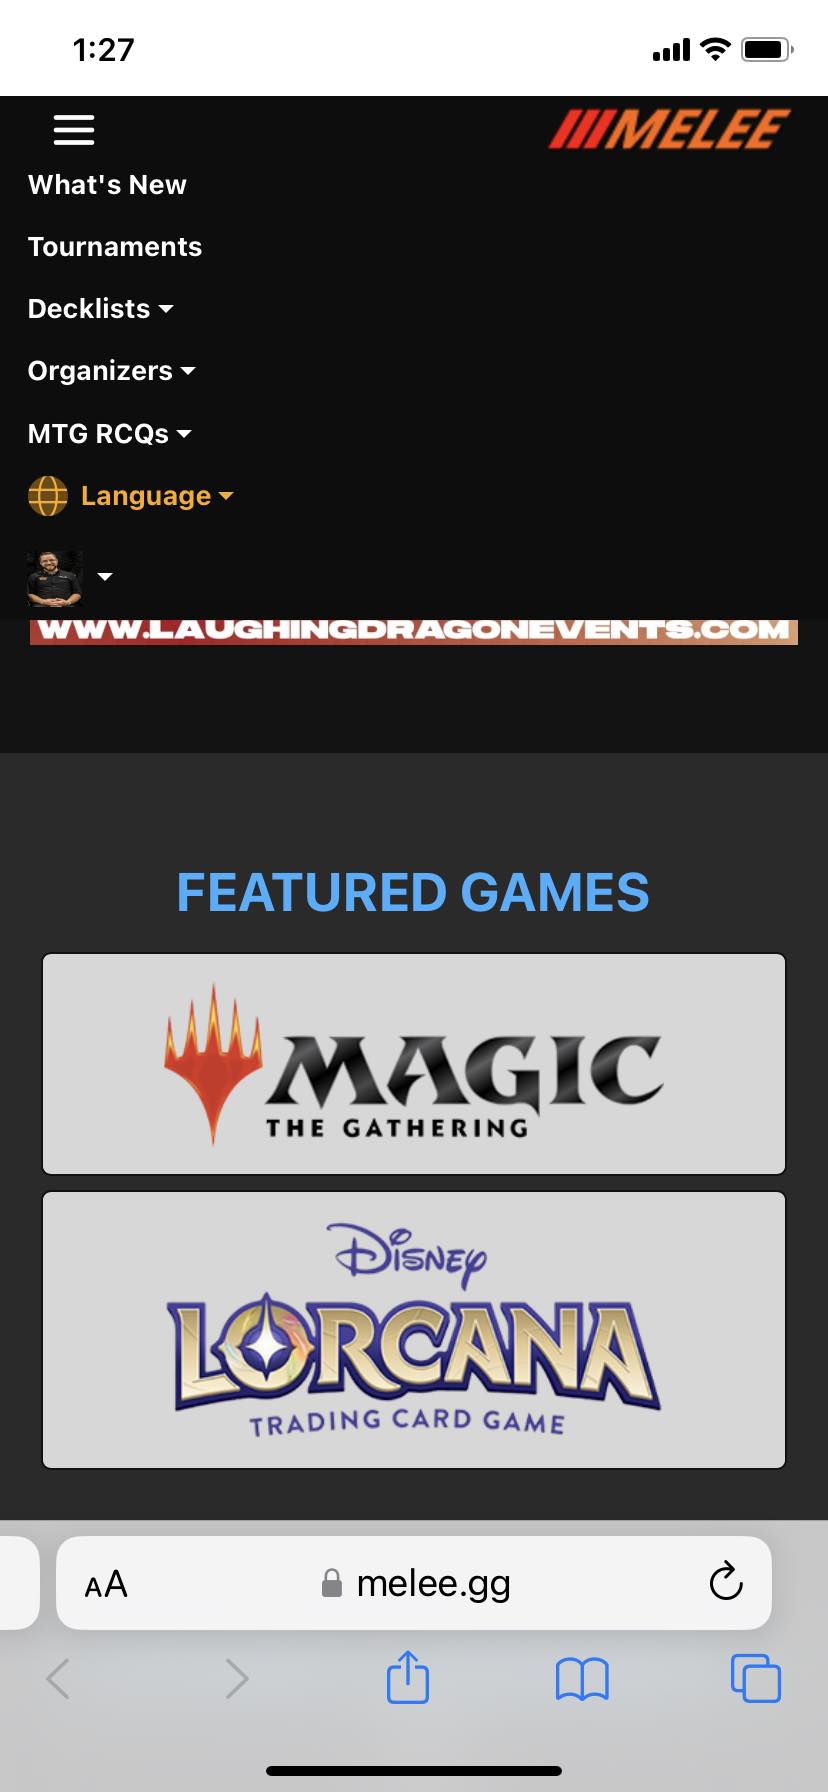
You’ll want to select Tournaments, and a new hamburger menu will appear just below the first one:
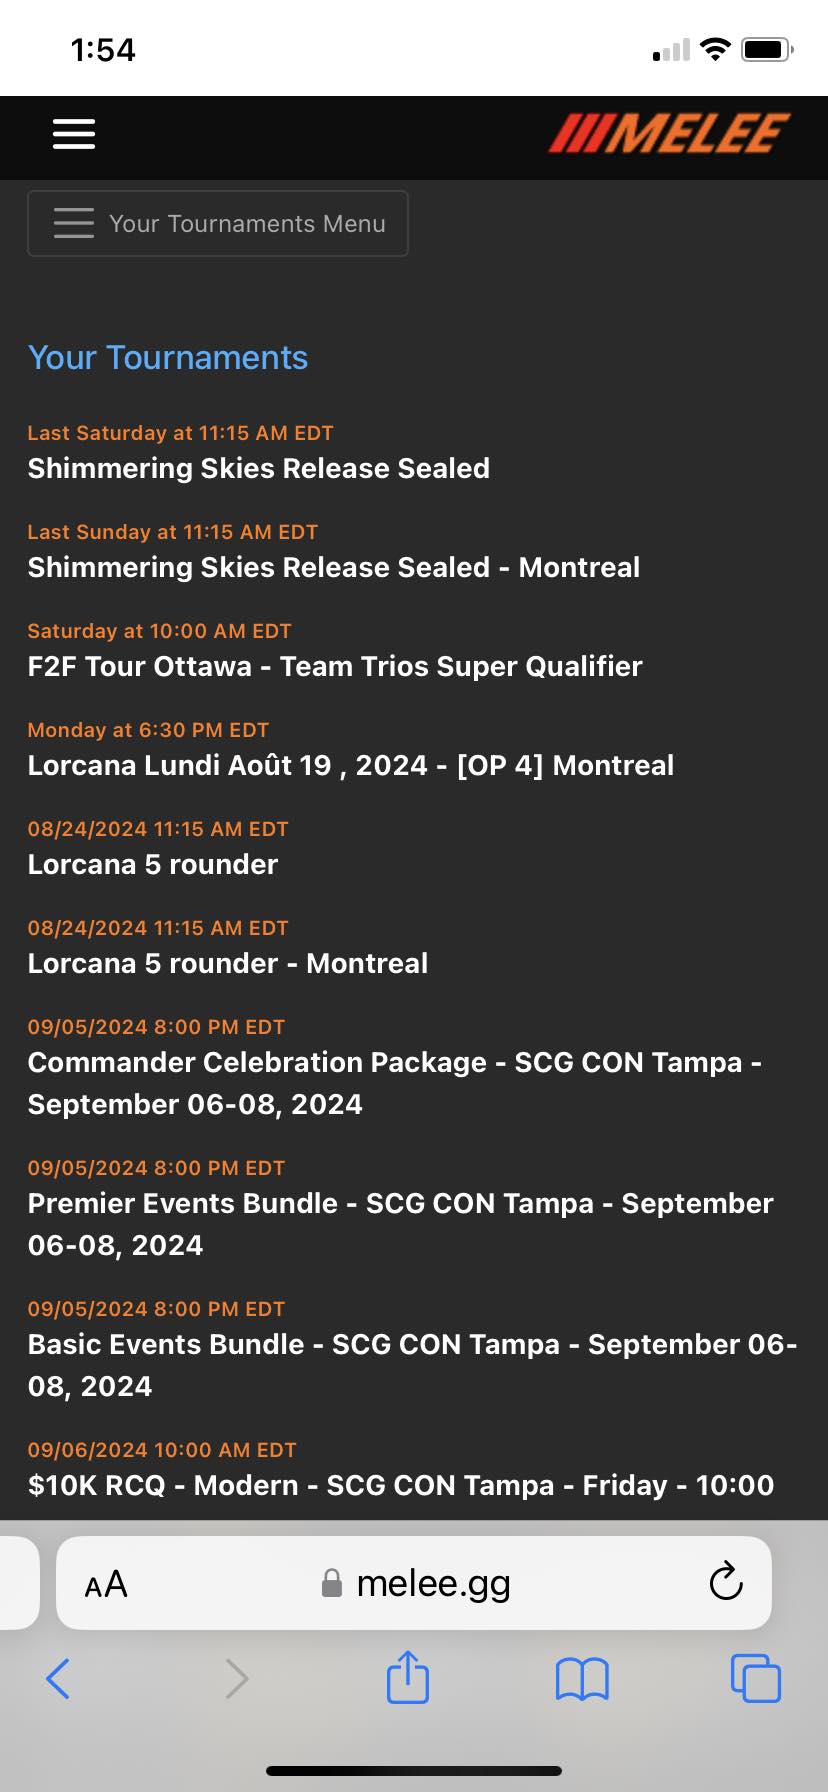
Select the second hamburger menu and you’ll get a dropdown menu. Once the event has been created and you’ve been added as staff, it will appear here.
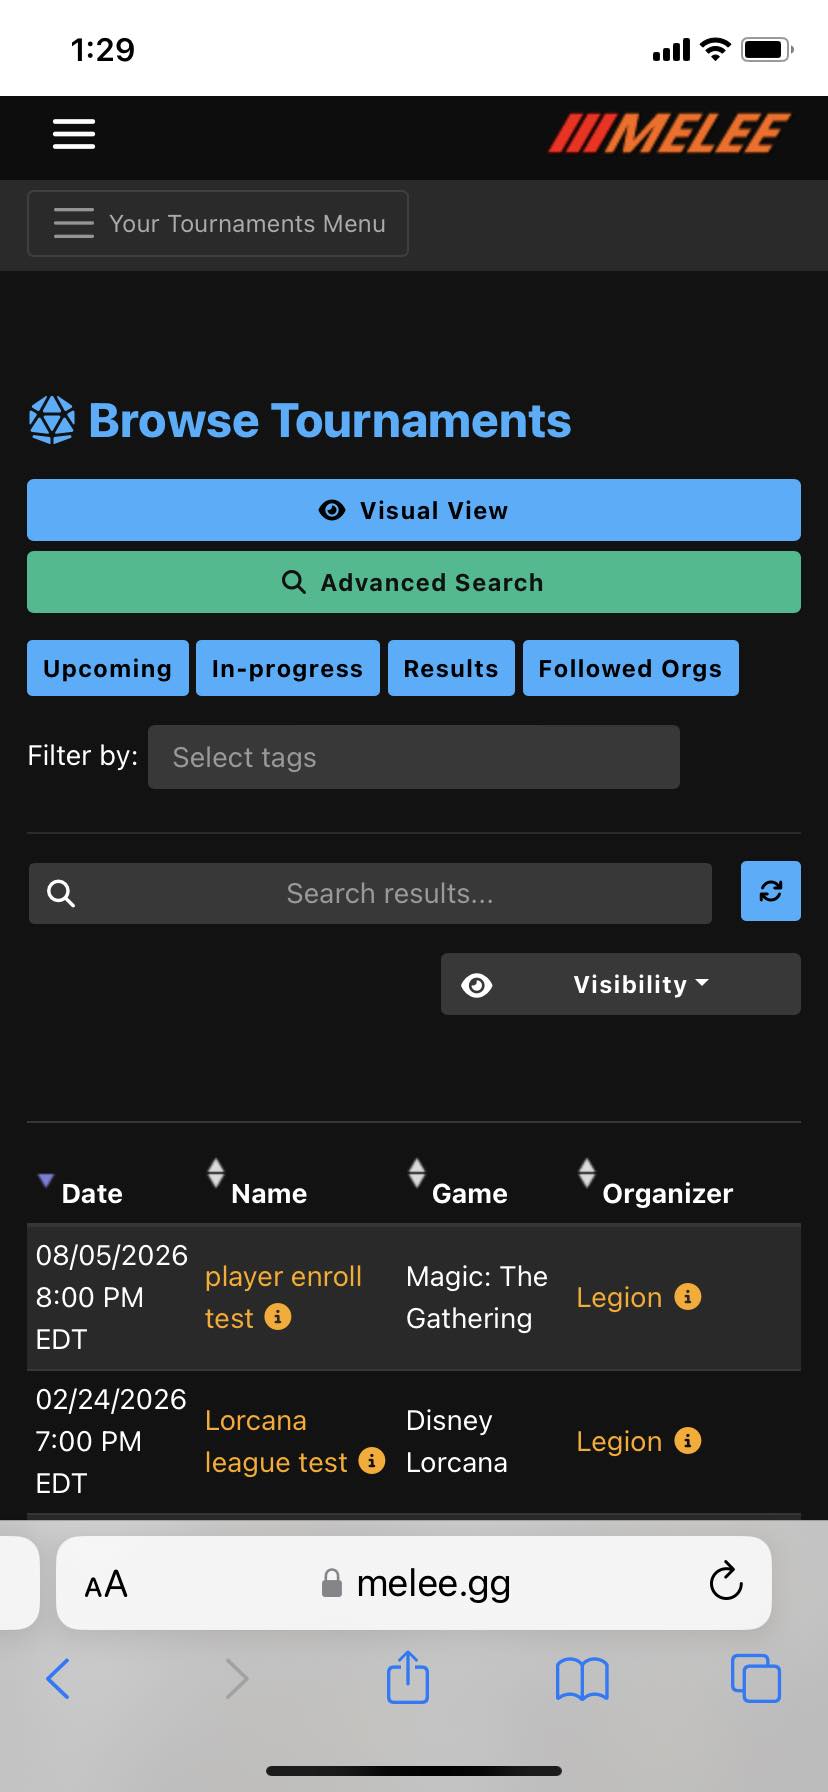
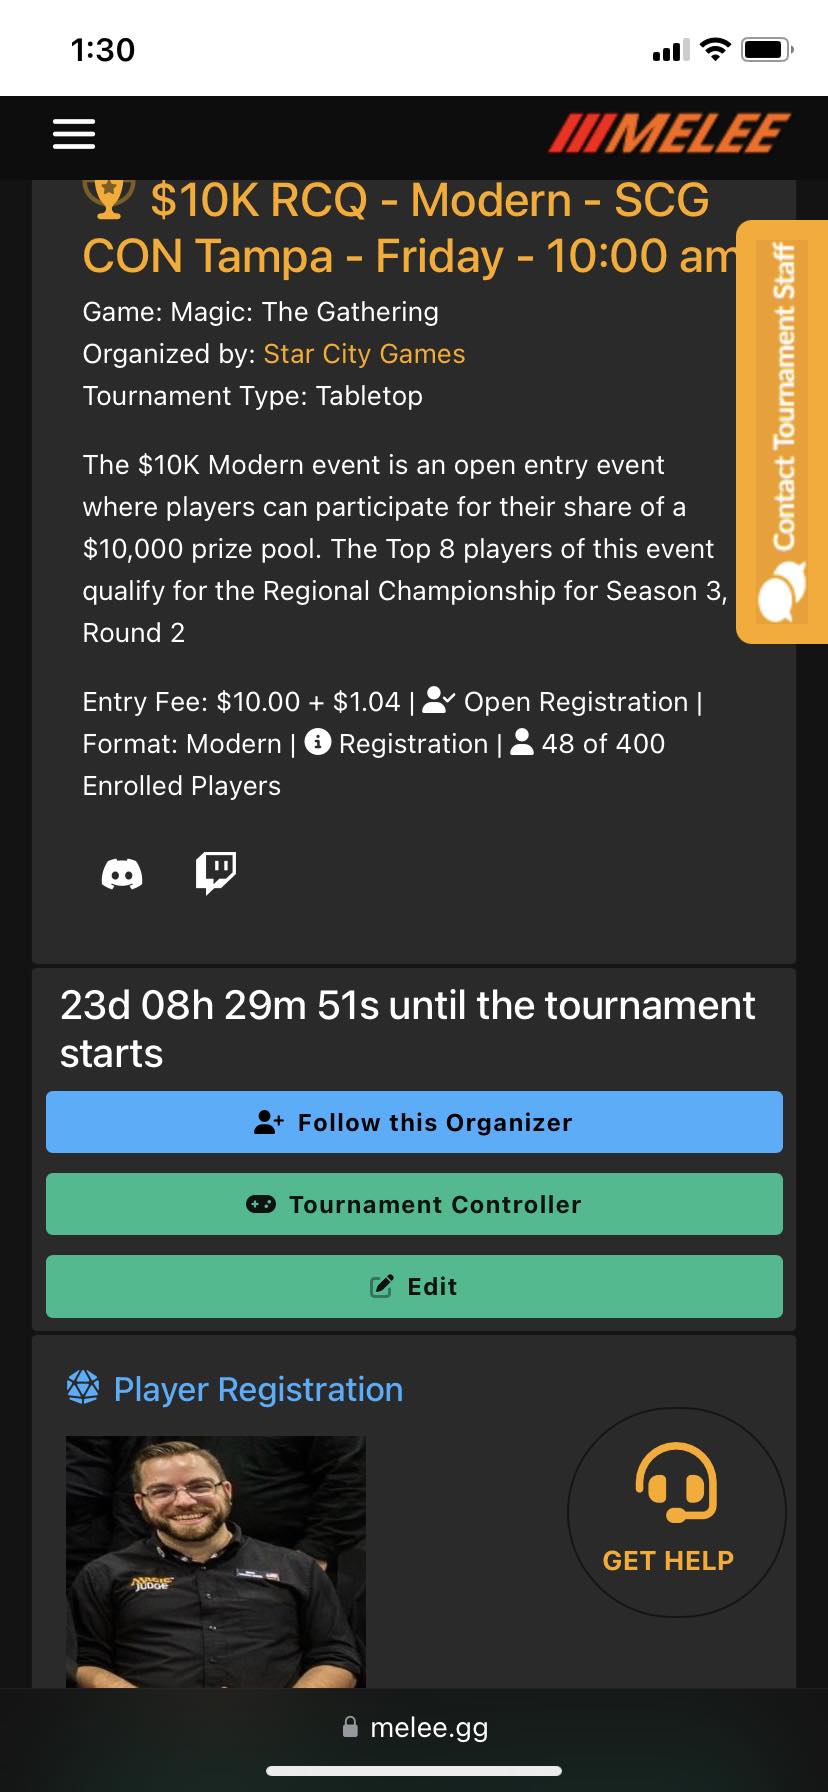
Select the appropriate event and you’ll see something like this:
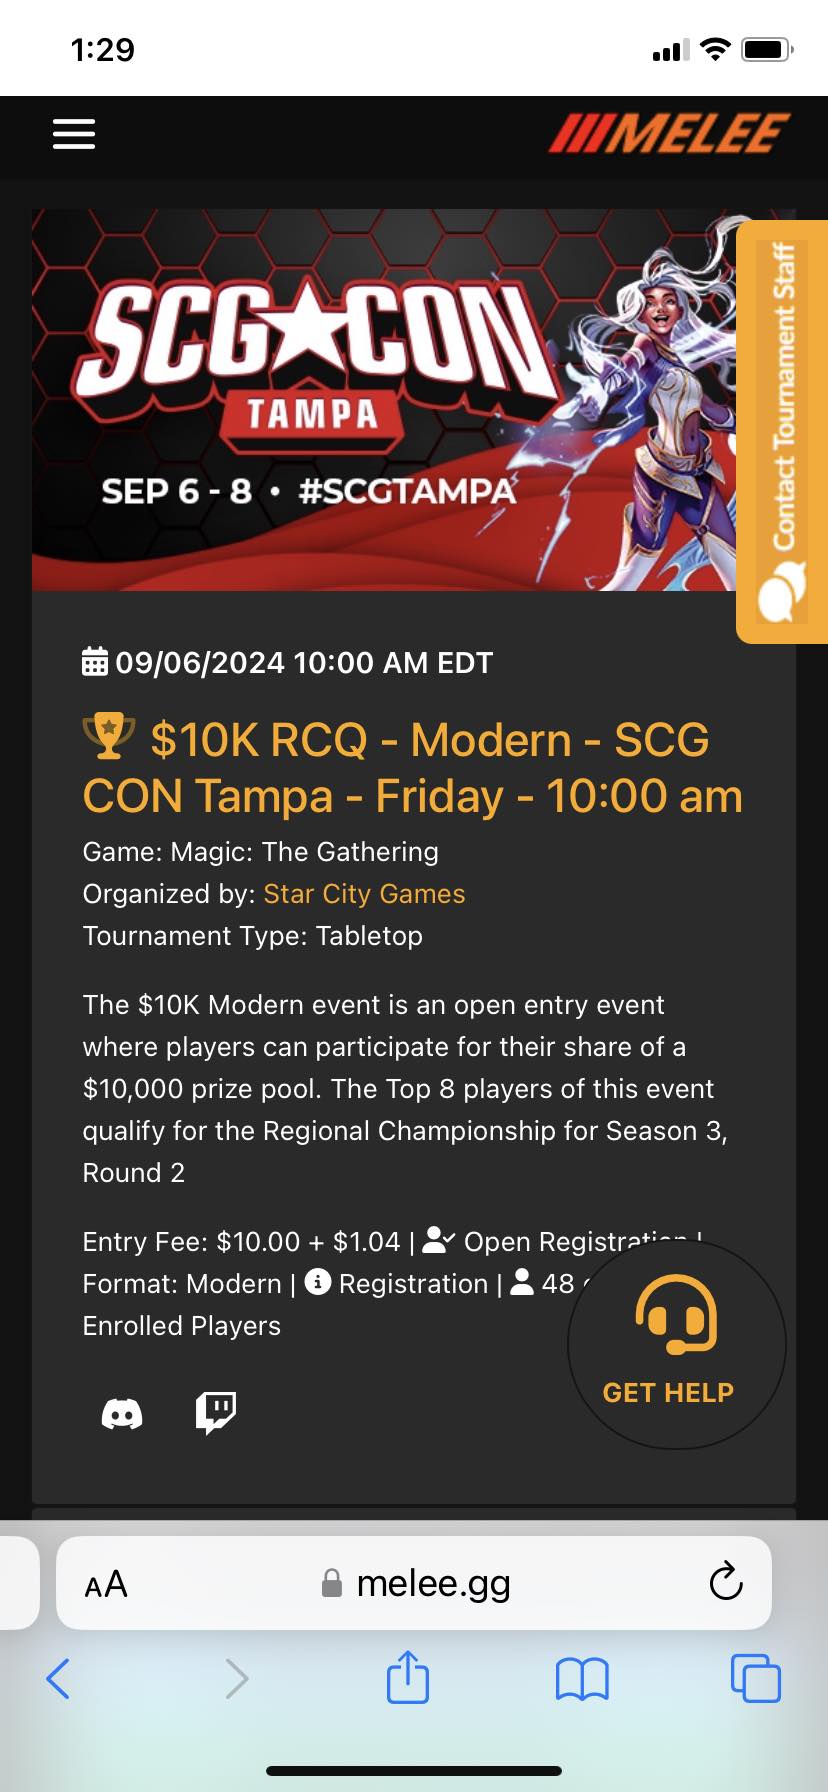
Scroll down just a little and select the green Tournament Controller button (we’re almost done, I promise!):
Ok, now we’re in the the actual control center for the event, where we can see all the stuff we need to. You shouldn’t need to go through the labyrinth every time you need to get something done. To make life easy, make sure Melee is opened in its own dedicated tab on a browser.
A common pitfall here: a lot of times the link to the event will be shared with judges via Discord, email or on some other platform. Depending on your settings, opening the link might open it through that first platform rather than opening the page on your preferred browser. That means that if you need to check messages on the first platform you’ve lost the Melee page, and you’ll have to spend time re-navigating back to this page.
Hitting the Controller Menu in the upper left will let you see a laundry list of options:
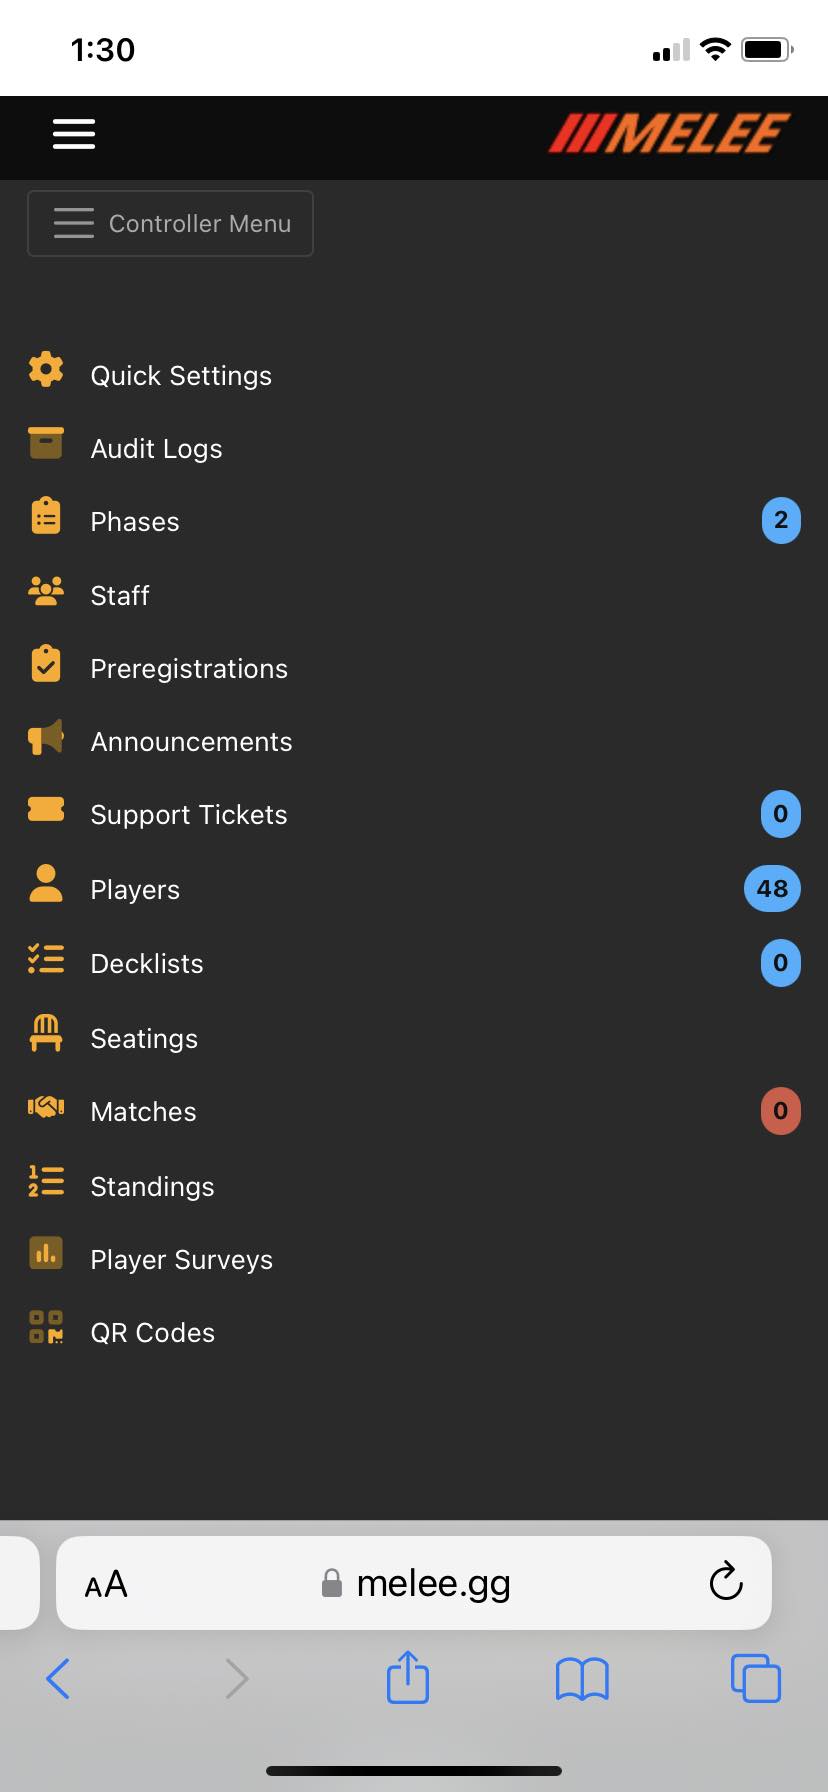
For nearly everything a floor judge needs to do, “Matches” will be the quickest and easiest option. That’s home base. I honestly can’t remember the last time I needed to do something that required leaving the Matches menu. After selecting that, you should be looking at something like this:
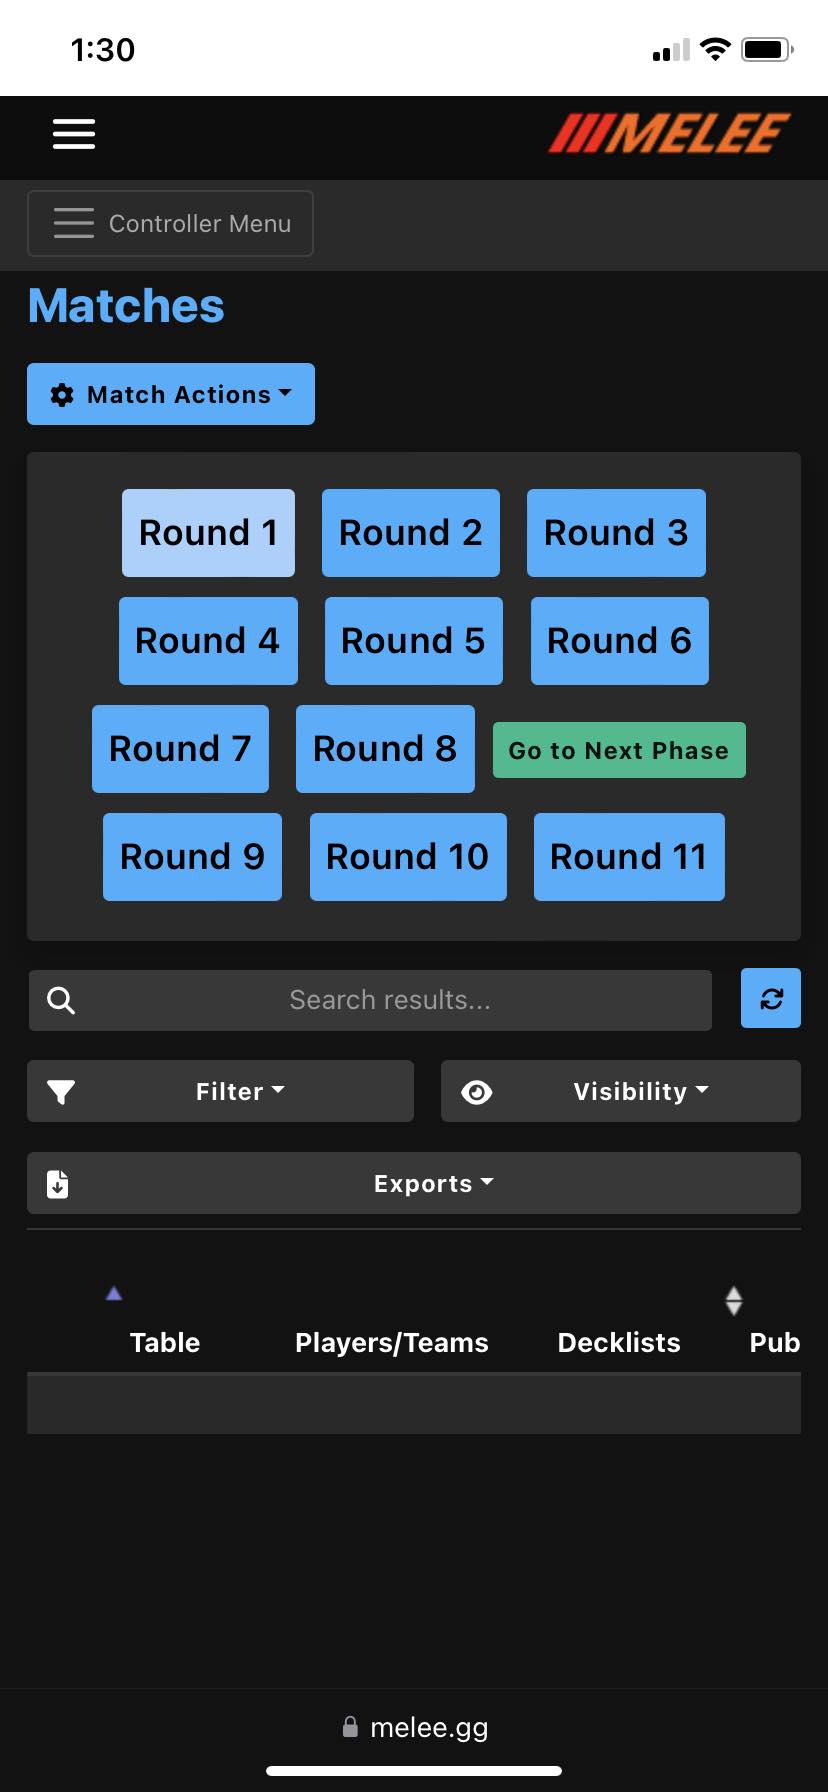
If for some reason you need to look at what was going on in a previous round, that’s easy to do by just selecting the appropriate round.
Once the event has started and matches are made, they’ll all appear here. This is the easiest way to help a player find their seat, enter a result or a penalty, or even see a decklist for a deckcheck (the decklists menu is a trap, imo).
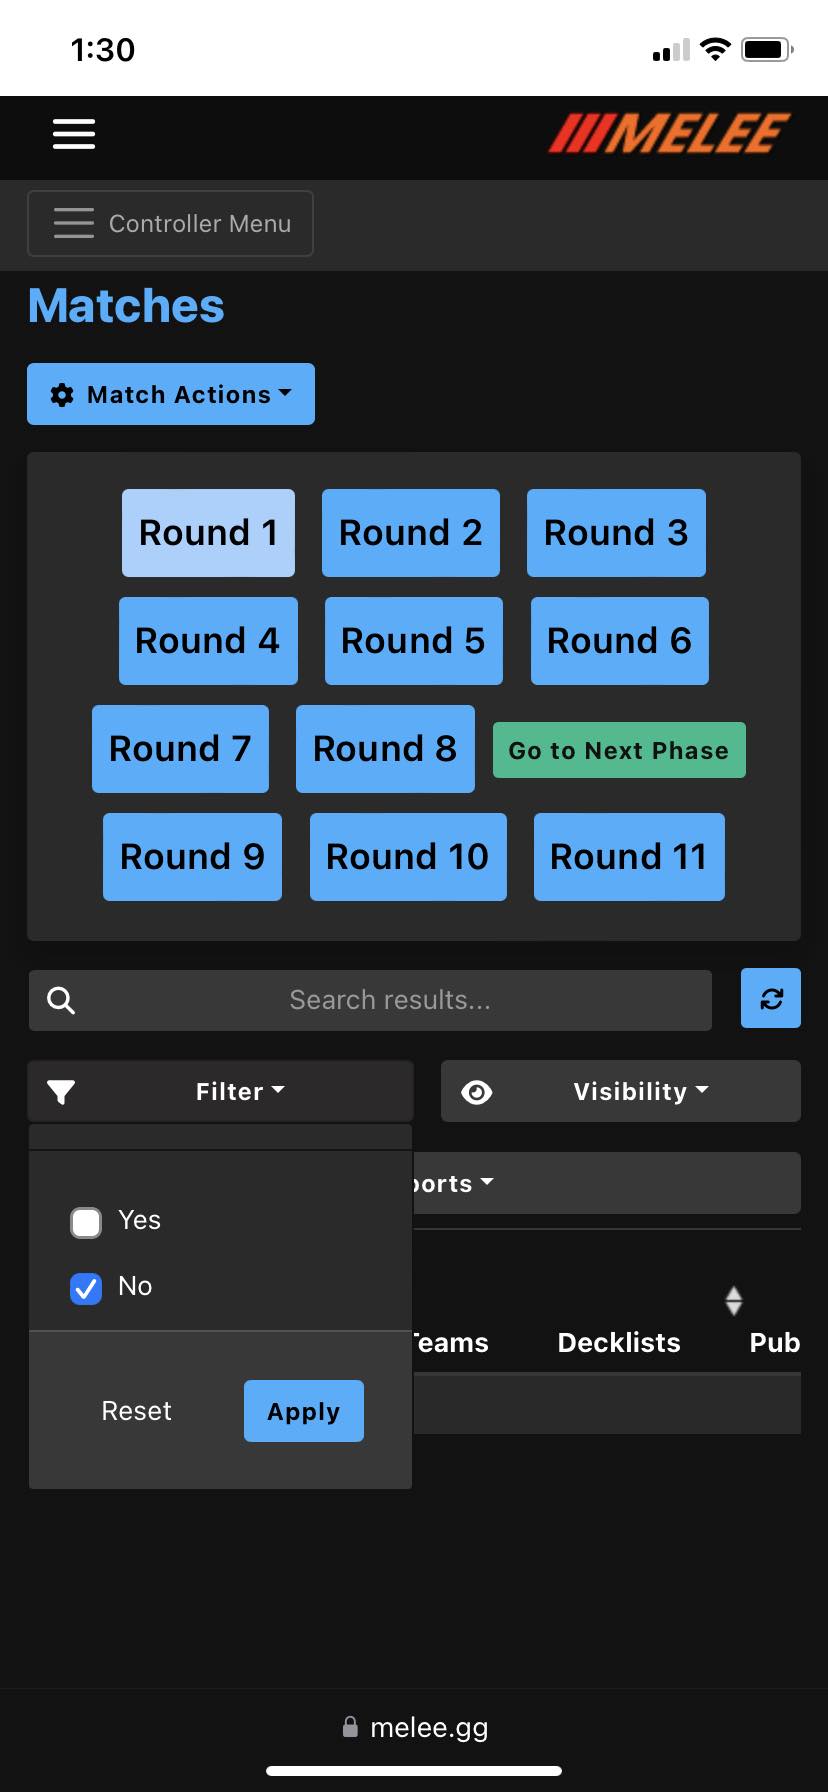
Melee is very powerful and wants to give you a lot of options, but that’s honestly more than you need. Trimming down the options some will let you focus on what you actually need, making life simpler and easier. On the left side, select Filter, then Reported. Selecting “No” will filter out all the matches that have already finished and reported their results. For 99% of the time, that’s all you need to see, and having finished matches still visible will just clog up your view.
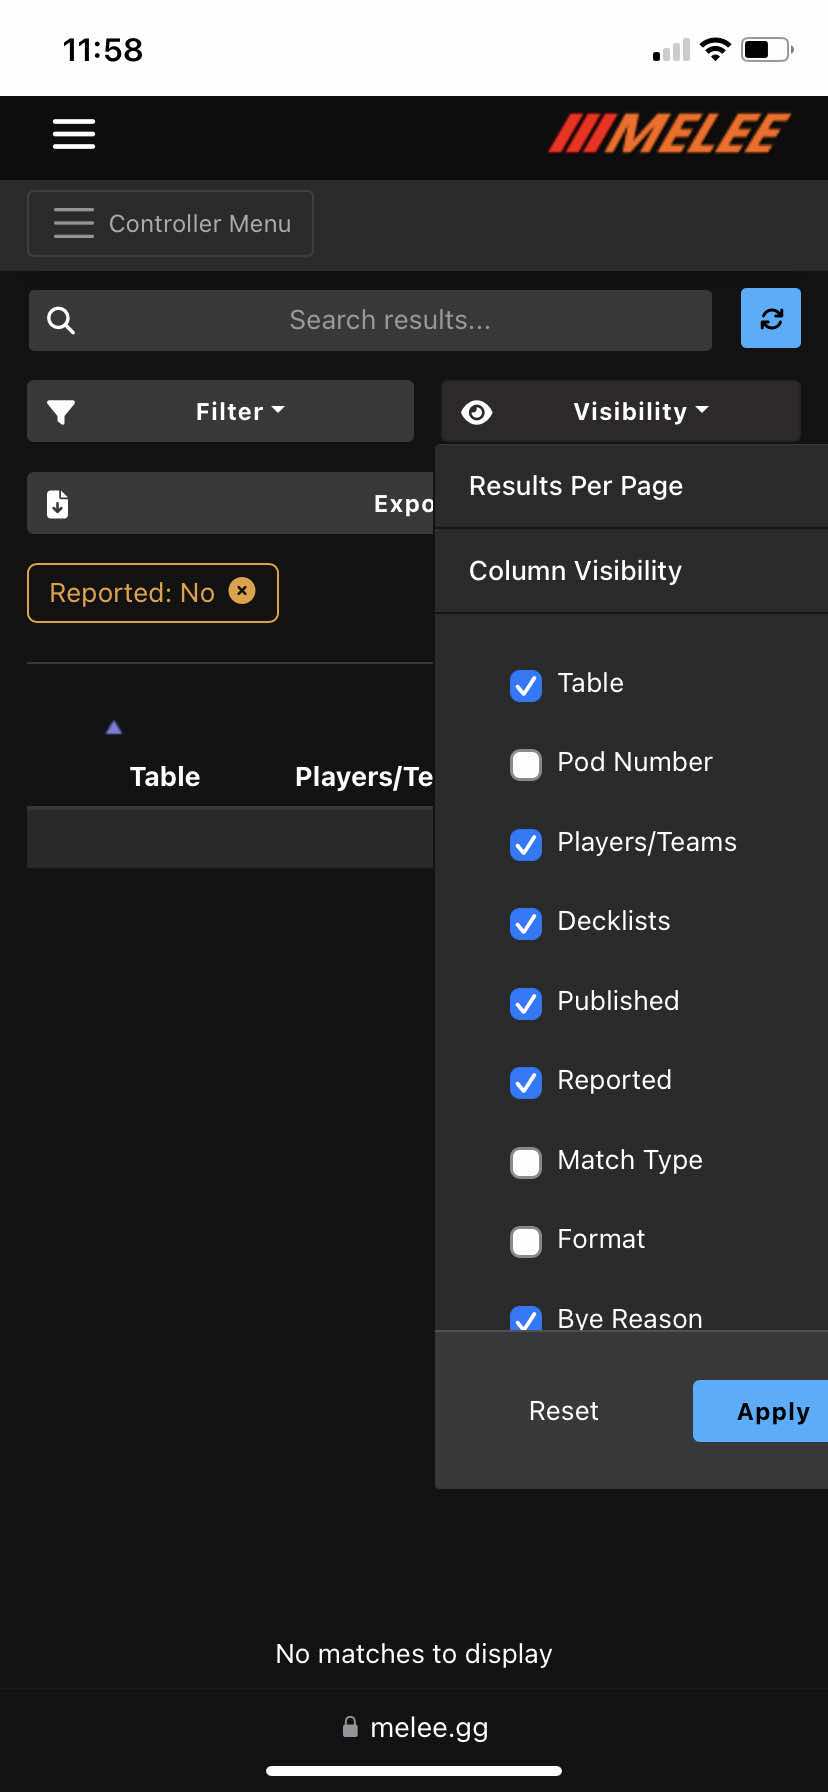
On the right side, you can select Visibility, then Column Visibility. This is where you can change which columns are showing. Melee’s default is to show a bunch of stuff we don’t need, so turning some of these off will let you see what you need without spending hours scrolling back and forth. The only columns I like to have on for floor judging are Table, Players/Teams, Decklists, Time Extension, and End of Round.
Happy judging, and I’ll see you on the floor!
Thanks for making this quick intro Brook! Happy to see stuff like this available to everyone.