
Greetings all,
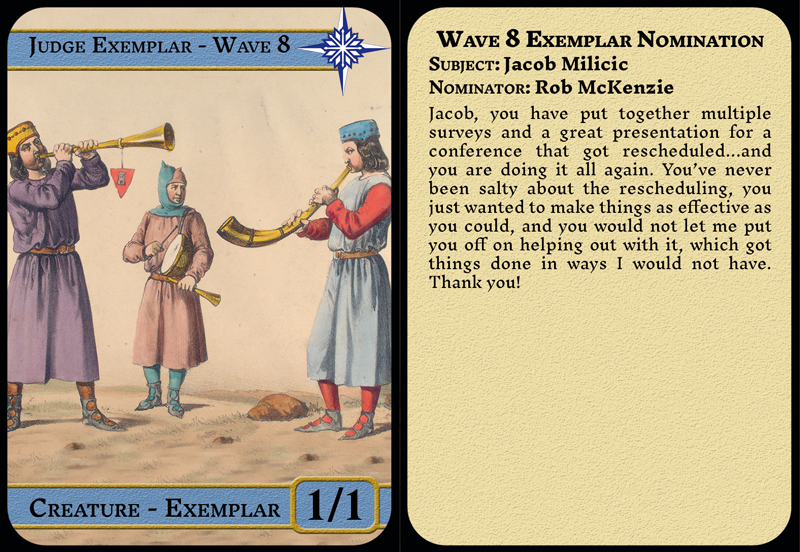 For Exemplar waves 8, 9, and 10, I’ve created token cards with the Exemplar nominations of each judge in the USA – North region on them.
I’m going to walk through the process I’ve been using to create these tokens, which should hopefully give you a starting point to make something similar.
All my walkthrough items will be in Photoshop CS6. If you are using a different version, there are similar tools, but I can’t promise everything will work exactly the same.
Gathering Images
[cets_callout_box style=’blue’ align=’left’ title=’Public Domain’]Please please please get the license or permission to images before you make things. I am using images that are in the public domain, which means no license is necessary. If you don’t know for sure if you can use an image, don’t![/cets_callout_box]I use a few different sources for public domain images. You can do the same, or you can get an artist to produce images for you. If I had any art skills, I’d be making my own images.
My core three places I’ve been searching are:
Old Book Illustrations – This site collects old book illustrations from more than a century ago and posts them for free. They are pretty good about doing their research for if something is in the public domain.
Free Vintage Illustrations – The sourcing is sometimes more questionable on these images. Do some research if they seem too good to be true.
The New York Public Library Digital Collection – Their sourcing is VERY conservative. When you search, there is a checkbox for “search only public domain materials”. Anything over a century is generally in the public domain as a piece, but the actual photograph of the item may not be. The indexing is reasonable, and they have a ton of material here for you to go through to find great old images.
Designing the Cards
 Front Design
Similar to the Flash Feedback Cards I’ve done, I am sourcing the printing of these through SuperiorPod’s custom poker card decks. I really can’t recommend them enough – they make quality cards, they respond quickly, and their turnaround is great. They take about 14 days from order to reception if you don’t select rush, but if you select 1-day rush, they are pretty good about shipping the next day.
I used their template file for an 18 card sheet and reverse engineered it into a .psd template for a single card. If you want this template, contact me – the file is bigger than I am comfortable hosting here, but I can share it out of my dropbox with anyone that asks.
Back Design
 This is the big fun one. (Spoilers: Less fun than expected.)
First, you need a csv of all nominations. You can get one from JudgeApps – hit Exemplar on the left, then Recognition Windows, and there is an export option.
I opened that up in my spreadsheet tool of choice (I used Excel for this, but either OpenOffice or LibreOffice are great choices, or you can do this in Google Sheets and export the resulting csv) and take a look at it.
Apply a filter and filter to just the nominations you want. Copy all these cells, and create a new workbook. (Just Ctrl+N.) Paste these into the new workbook.
Delete every column that contains data other than the Creator, Subject, and Description columns. These are the only columns you will need to do what you are doing. Save this workbook as a csv, then close it. We will need it later. You will also thank me later for having you close it.
 Now you will need to build a psd for the back.
I’ve got one saved, and again will share it on request.
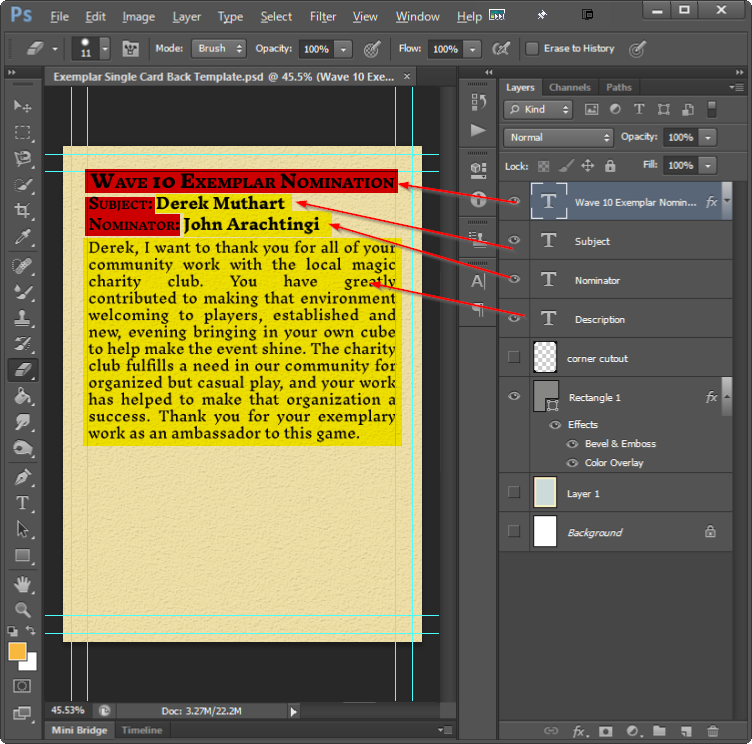
The important thing to note about this is that the name of the subject, the name of the nominator, and the description (Exemplar text) need to be each their own layer.
You can see in the image to the right I have highlighted one layer in red and three in yellow. The yellow layers will be variable layers that will change from card back to card back. The red layer is static. That will remain the same on every card we create. The other things need to be distinct layers so that they can each change separately from card to card.
Merging in Data
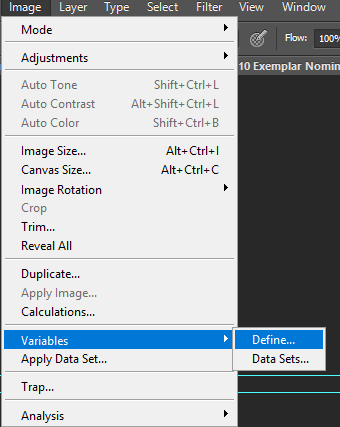 So, first, we are going to have to define some variables for our text.
Hit Image > Variables > Define.
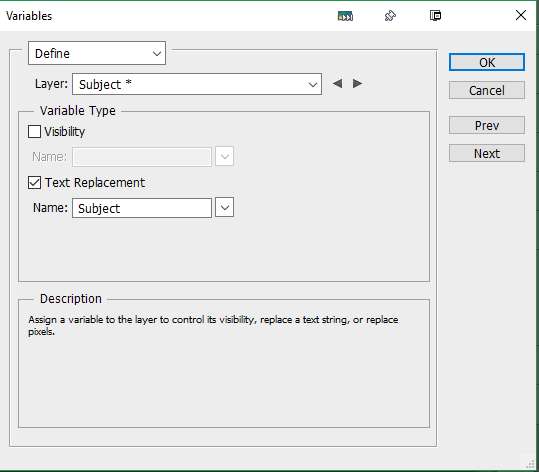
This will bring up a dialog box. In that box, pick the Subject layer. Check the Text Replacement checkbox. Enter Subject into the Name box.
Click back up to the Layer box above, and pick Nominator. Do the same thing, but with Nominator as the magic word.
Do this all one more time for Description.
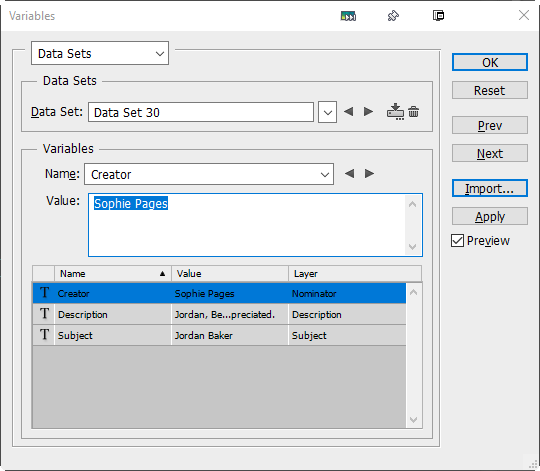 Now hit the top dropdown, where it says Define. Change that to say Data Sets.
In the Data Sets window, hit Import, on the right.
This will pop up a dialog box. In that box, hit Select File, then choose the csv you made. You may have to change the file type from .txt to .csv to see it while navigating in Windows. Remember when I said you need to close the CSV? If you did not, it will give an error here.
Check the Replace Existing Data Sets button. Uncheck the Use First Column For Data Set Names, if it is checked.
 This will import in your set of nominations. You can preview a few nominations by checking Preview on the right of your Variables window, then choosing a data set in the Data Set dropdown.
Click OK in the upper right of the Variables window.
Now we are going to export these as a set of photoshop files.
Create a folder somewhere that you can use to store your individual cards for this group of cards.
In Photoshop, click File > Export Data Sets as Files.
 This will bring you to a fancy export window. I like to setup my files to be named as Exemplar Back_#.psd. Choose something that makes you happy.
Pick the folder you made before where you want all the backs to be stored.
Hit OK.
Go to the bathroom, grab a snack, and watch some Loading Ready Run. I suggest How to Talk Like a Pirate. You have a bit to wait while photoshop generates a big pile of files for you.
Once you are done merging in data, you need to go through and check on each nomination. Yes, this is a drag. However, some people write novels in their nominations, and you need to downsize their font to fit. I don’t currently know of a way to auto-fit this. I’ll let you know if I do.
Building Sheets
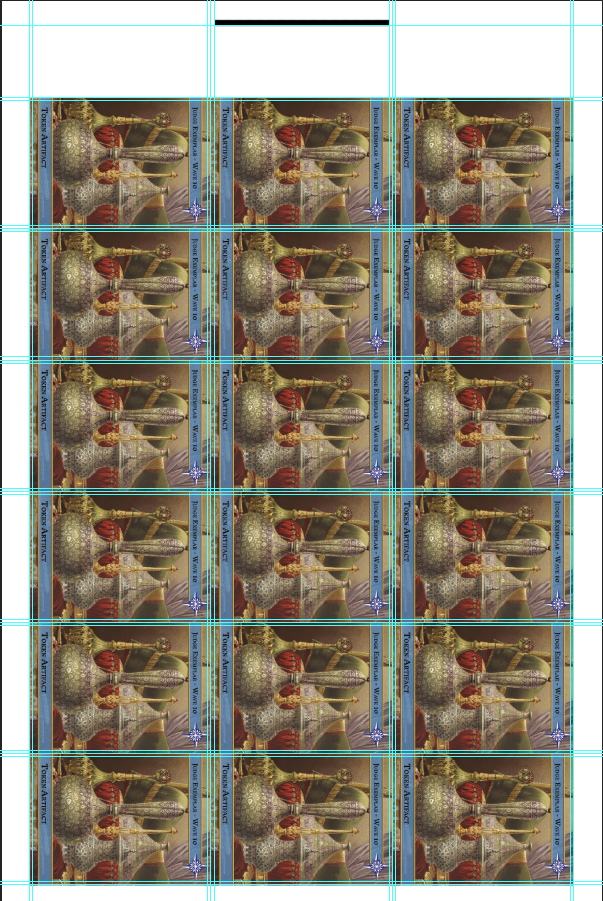 So, I am going to work some movie magic right now. Building the sheets is the least fun and most frustrating part of the process. So I’m not going to show it off step by step. You just get a result page.
I’m trying to make this less painful, and I’m not sure how yet.
Again, I have constructed some templates I can share upon request which will make this a little bit easier.
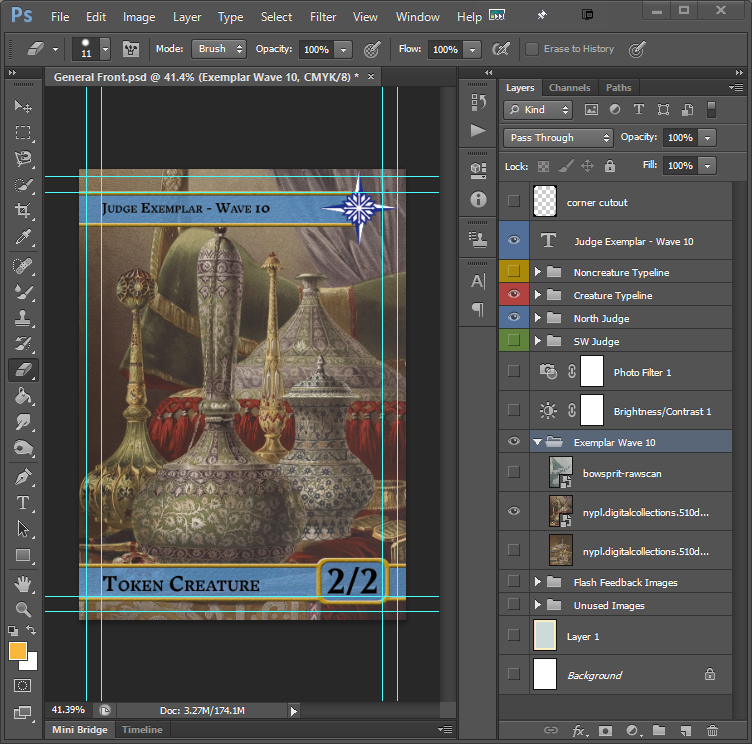
Using my templates, I rotate the template to the appropriate direction, then drop in the card psds, which I then drag to the appropriate locations.
Once I have a full sheet of things, I rotate it back, then save it.

Please note that you have to have the fronts and backs rotated opposite directions.
Once you have your full sheets built for fronts and backs, you are set.
Export/save these as flat png files. I use 24 bit png files. Yes, they claim they will take tifs. Don’t believe them – they have told me they prefer pngs or other similar files that are assured to be flat. I’ve had much better color reproduction on pngs.
Ordering and Things to Know
When I order from SuperiorPod, I use the 1-day rush production. It makes it a bit more expensive, but in the time between wave publication and when Regional Coordinators can ship foils there is not a huge window. Wave 10 cost me $22.30. Half of that was Priority Mail shipping so I get the cards in a trackable way in a reasonable time.
You may have to do some image cleanup. I’m not going into that here. Just grab the highest resolution image you can, double or triple your source size if necessary, and google for help with particular issues. It’s a learning process.
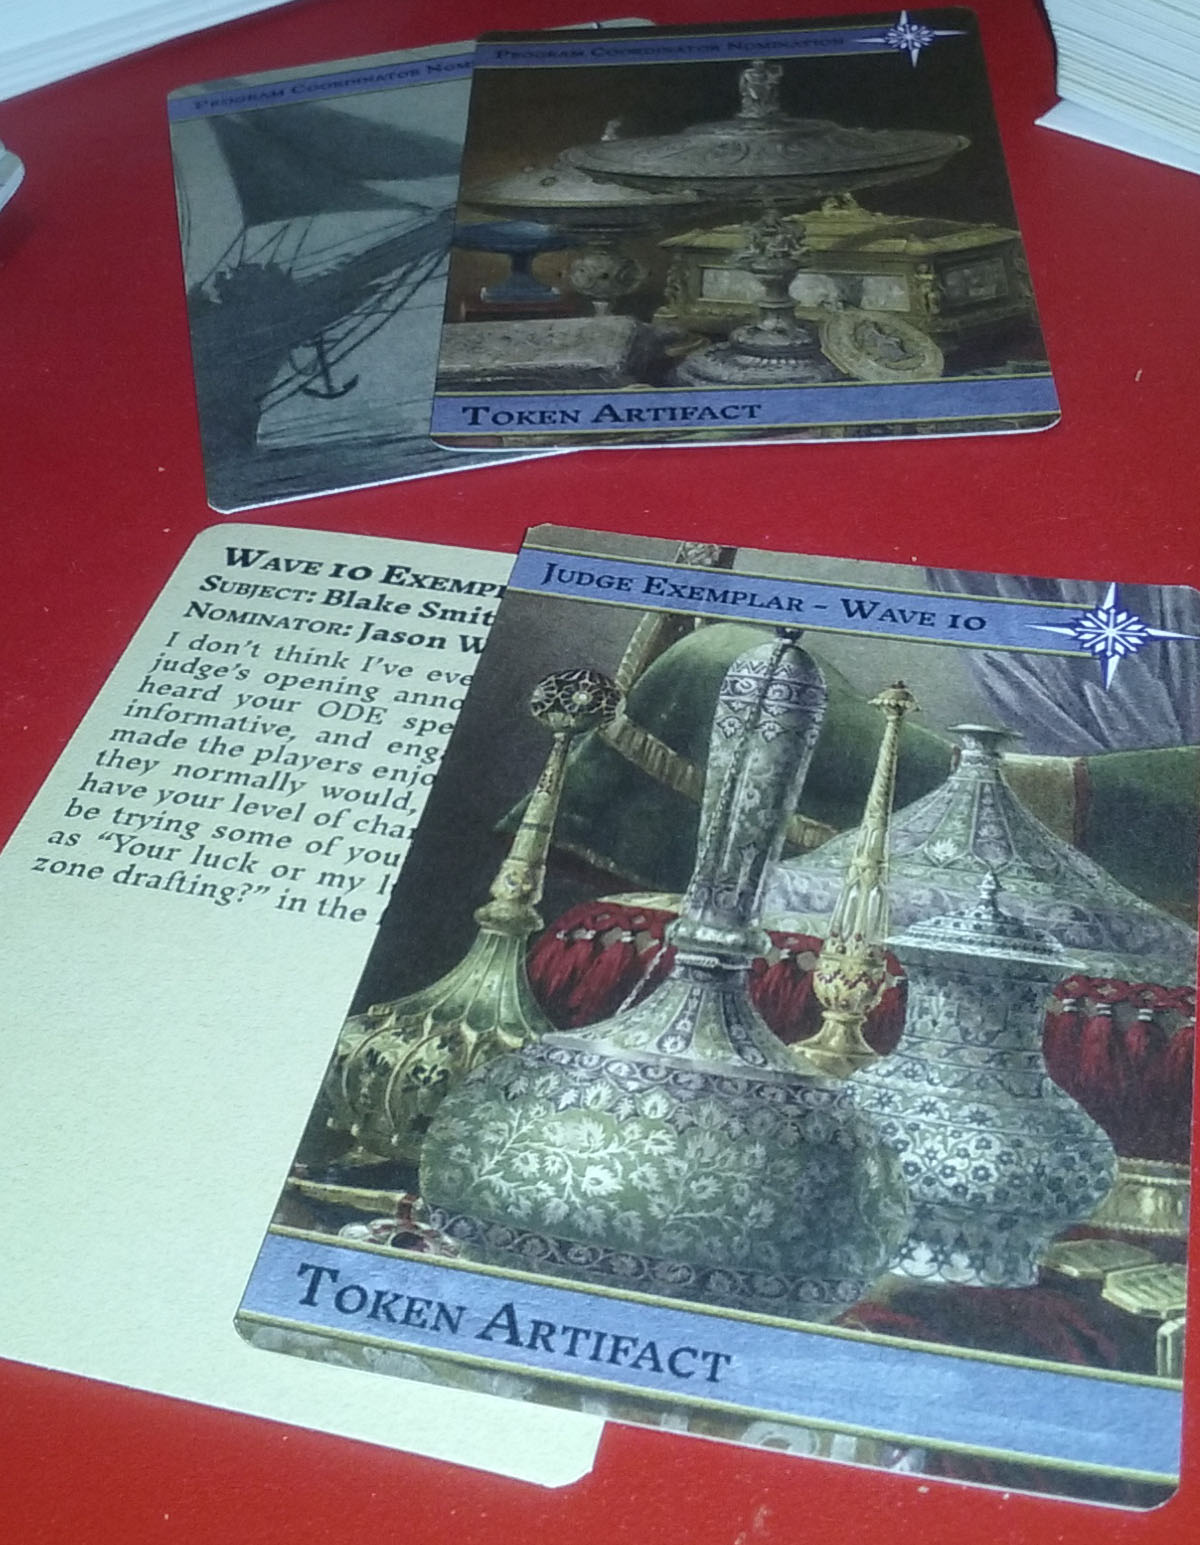
The Results
And this is what the Wave 10 cards look like in real life, after all this:
Hope you enjoyed this trip through the process, and learned a thing. Let me know if you need help trying to implement this, it is a little difficult and strange.
If you have questions, comments, or want to pick my brain about related things, drop me a line. You can send me an email via my JudgeApps profile page.